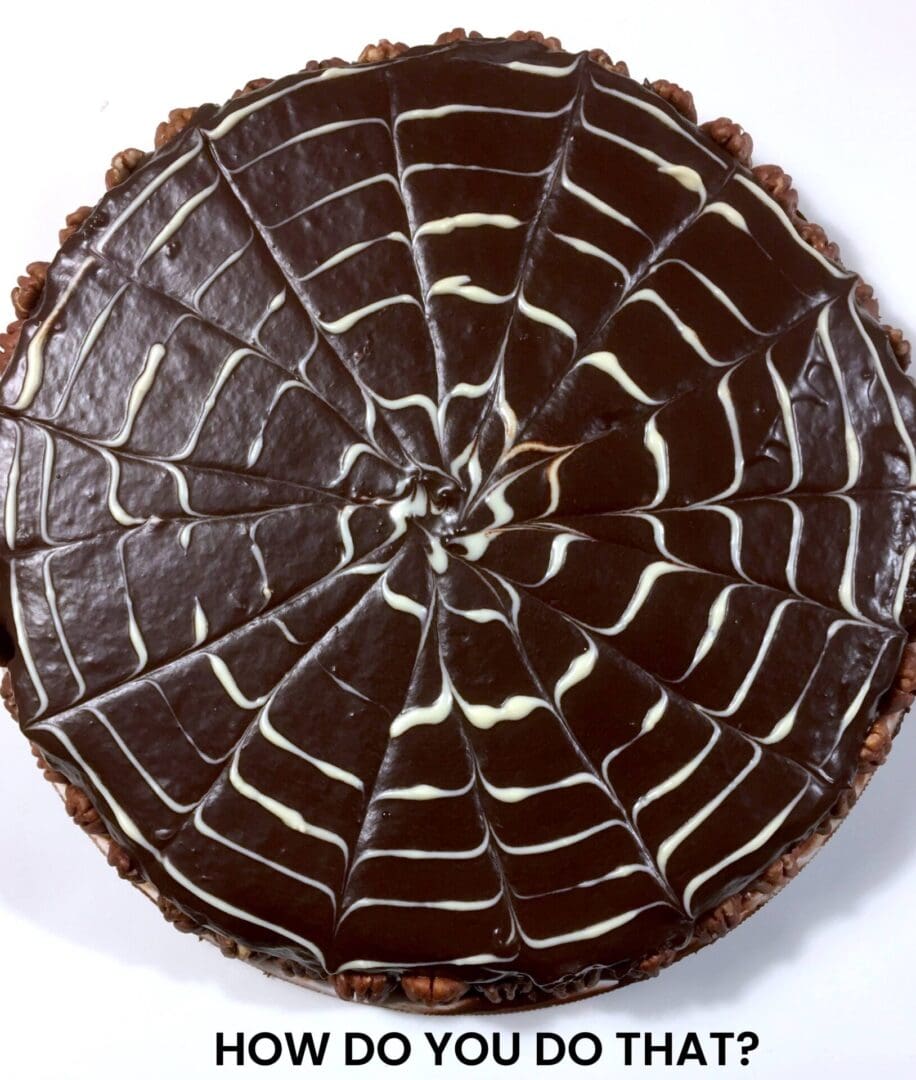
HOW DO YOU DO THAT?
My husband is the baker in the family and whether we’re making dinner or going to someone else’s house, everyone always wants to know what he’s making. He is the Yoda of chocolate and has quite a few rich and delectable treats in his repertoire. One of his biggest hits is his chocolate ganache torte. Everyone always oohs and aahs over his web-like design, thinking he’s taken some type of decorating class. But in truth, this design is one of the easiest to do.
Having a few simple design tricks up your sleeve will always help elevate a dish and you can use this simple one on any dessert topped with ganache. Just make sure to pour it out evenly on top of your cake, allowing it to pour down the sides. Melt some white chocolate. Using a ziplock bag as a pastry bag, fill the bag with the white chocolate, clipping a corner to allow a thin stream to pipe out. Starting from the middle of your torte, pipe thin circles, getting larger and larger as you get towards the edge, separating each by 3/4 inch. Using a toothpick, start from the center and drag out towards the edge 4 lines, each at 90 degrees, basically dividing the cake in quarters. Using the same technique, go in the same direction in the middle of each quarter so that you now have 8 sections. Now, we’re going to finish by moving the toothpick in the opposite direction, from the outside to the center. Starting in the middle of each of the 8 sections, drag the toothpick towards the center. That’s the whole trick. Really.


