Posts by The Katz Tales
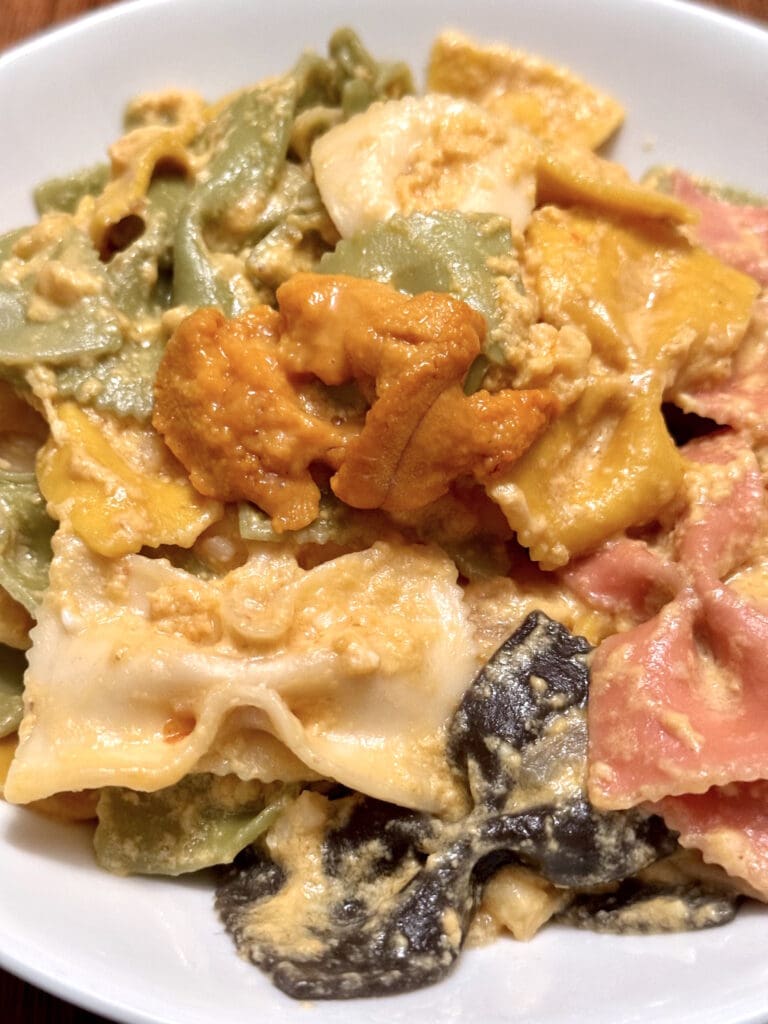
ALEX’S MAC & CHEESE
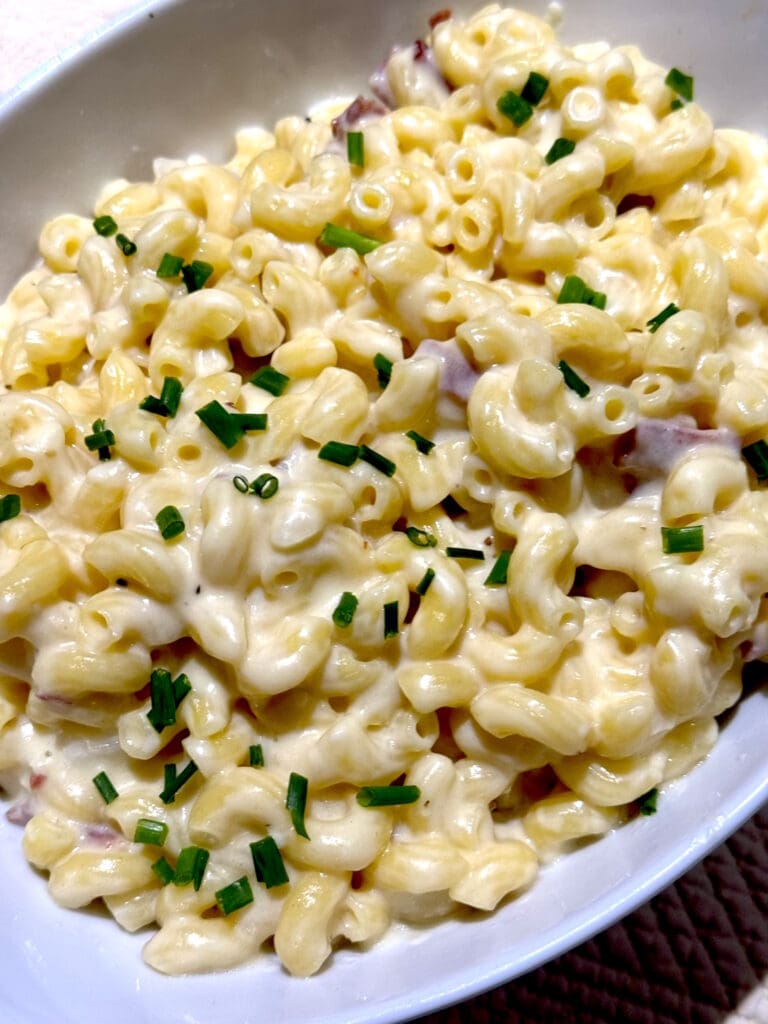
In previous blog posts, I’ve mentioned how delighted I am that the next generation in our family is getting comfortable behind the stove. My young cousin Alex is a man of particular tastes, but when he finds something he loves, he likes to master it. He’s always been a big fan of pasta and cheese…
Read MoreCHICKEN VINDALOO
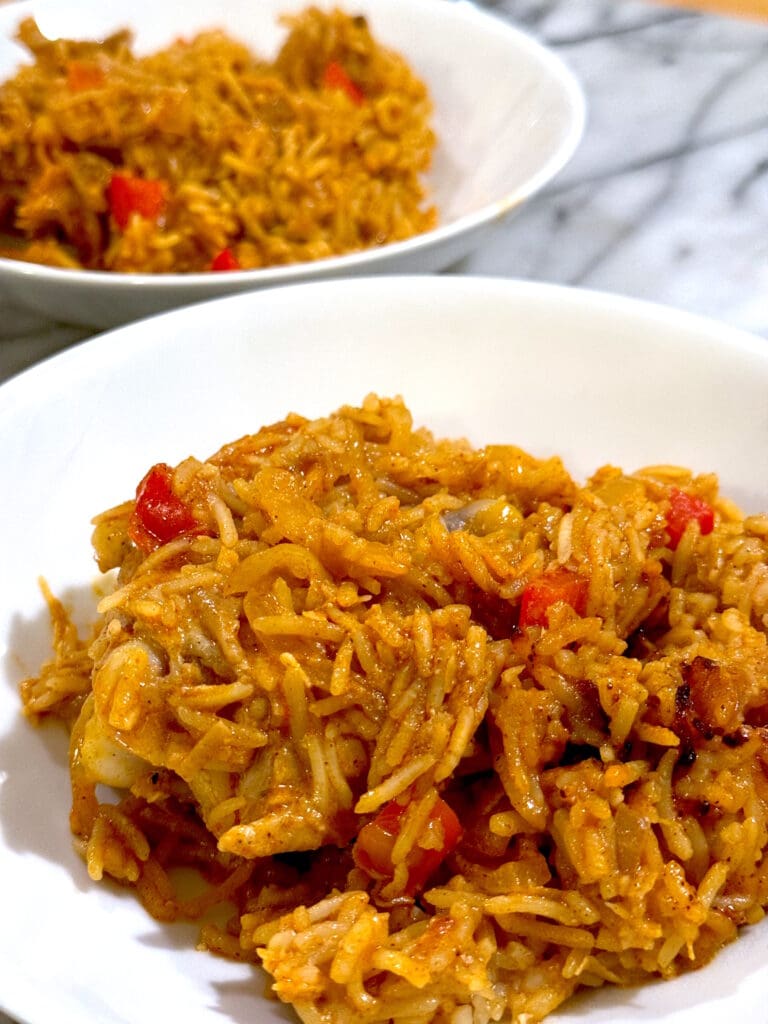
For years I’ve been trying to make a good curry from scratch. I buy all of the spices to create flavored pastes, but there’s always something missing. Although my dishes are tasty, they are nowhere near as flavorful as what I’ve eaten in Indian restaurants. But thanks to my favorite spice store—Kalustyan’s on Lexington Avenue…
Read MoreTEQUILA SURPRISE

In honor of Cinco de Mayo, it’s time to break out the tequila—my go-to liquor of choice for this and most other occasions. But rather than making an ordinary margarita—which I find way too sweet—I’ve come up with a variation that has a nice balance and a nice kick. I use pepper infused simple syrup…
Read MoreWHAT’S UP DUCK?
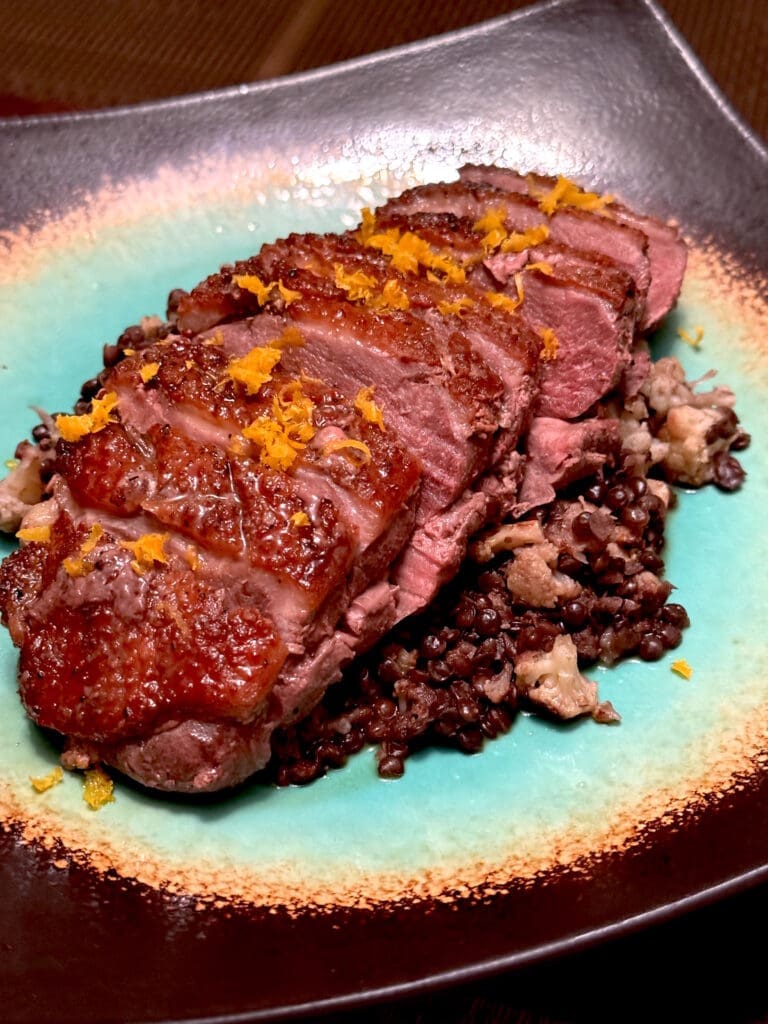
Okay, so I wanted to have a nice recipe ready to post for this week’s “Feed Me Fridays.” I had high hopes for this one considering I bought a beautiful duck breast from my local Greenmarket. I wanted to do an Asian spin on Duck a l’orange, so I worked out a nice marinade. Now…
Read MoreBRIAN’S DUTCH BABY PANCAKE
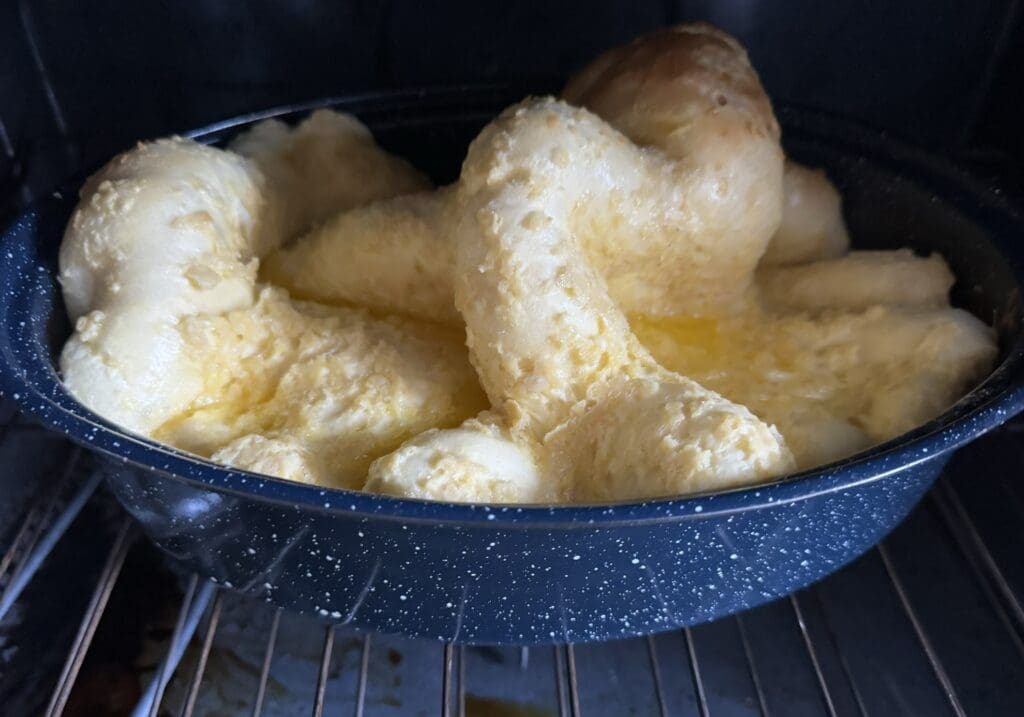
For years on our annual family ski trips, all the adults have shared the cooking chores as the next generation did their part to devour everything in sight. But as time has marched on, the day has finally come when that generation has stepped up to the stove. My young cousin Brian—who has always been…
Read MoreEASY DIM SUM
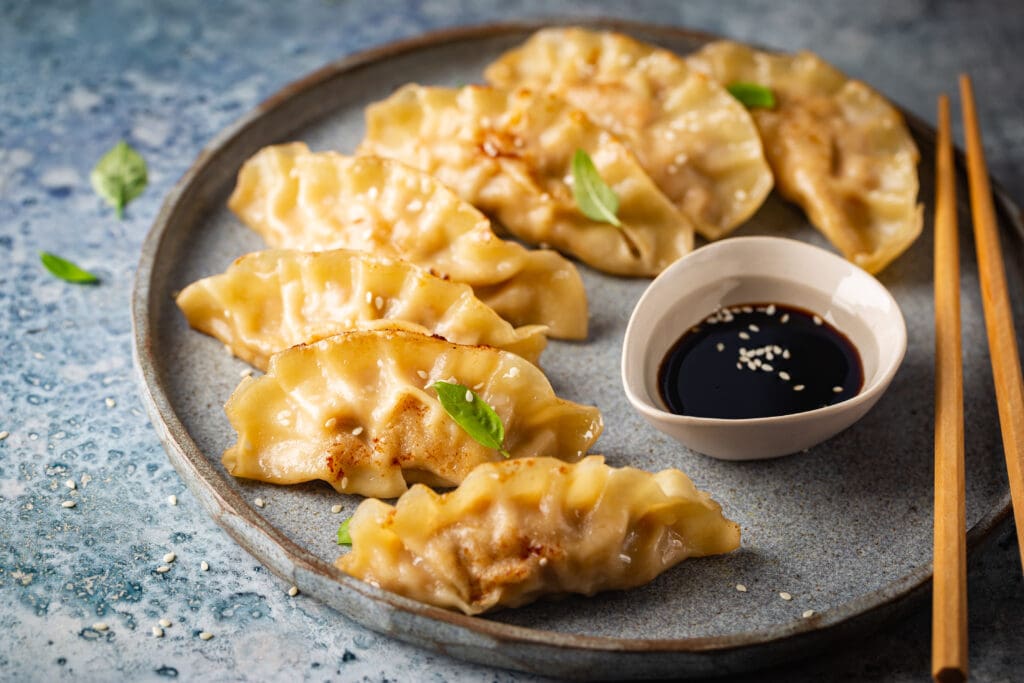
Try as I might, I’m all thumbs when it comes to shaping dim sum. Even though it tastes pretty good, it NEVER looks as good as it does in the restaurant. But I found this nifty inexpensive press that makes me look like a pro. All you have to do is place a wonton wrapper…
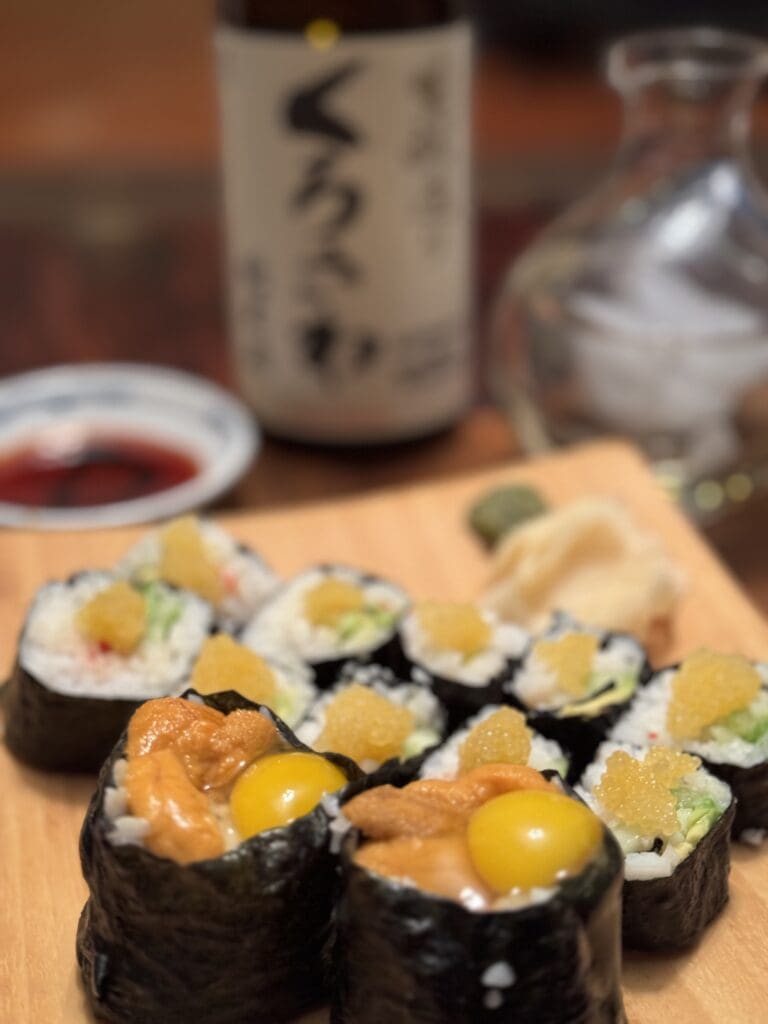
Read MoreSEA URCHIN AND QUAIL EGG BOWTIE PASTA
Admittedly, this dish may not be for everyone. But for those of us that love sea urchin, otherwise known as uni at your local sushi bar, this dish is a rich treat—rich in flavor, but unfortunately rich in expense. I had purchased a tray at my local fish store with hopes of making my favorite…
Read MoreDON’T TRY THIS AT HOME
I know we’ve all felt the pinch of inflation over the last few years. When eating out, I find myself ordering half as much, yet everything costs twice as much as it used to. Sadly one of my favorite dishes at our local sushi restaurant has gone over the top. $18 for one piece of…
Read MoreORANGE CHOCOLATE RICOTTA CAKE
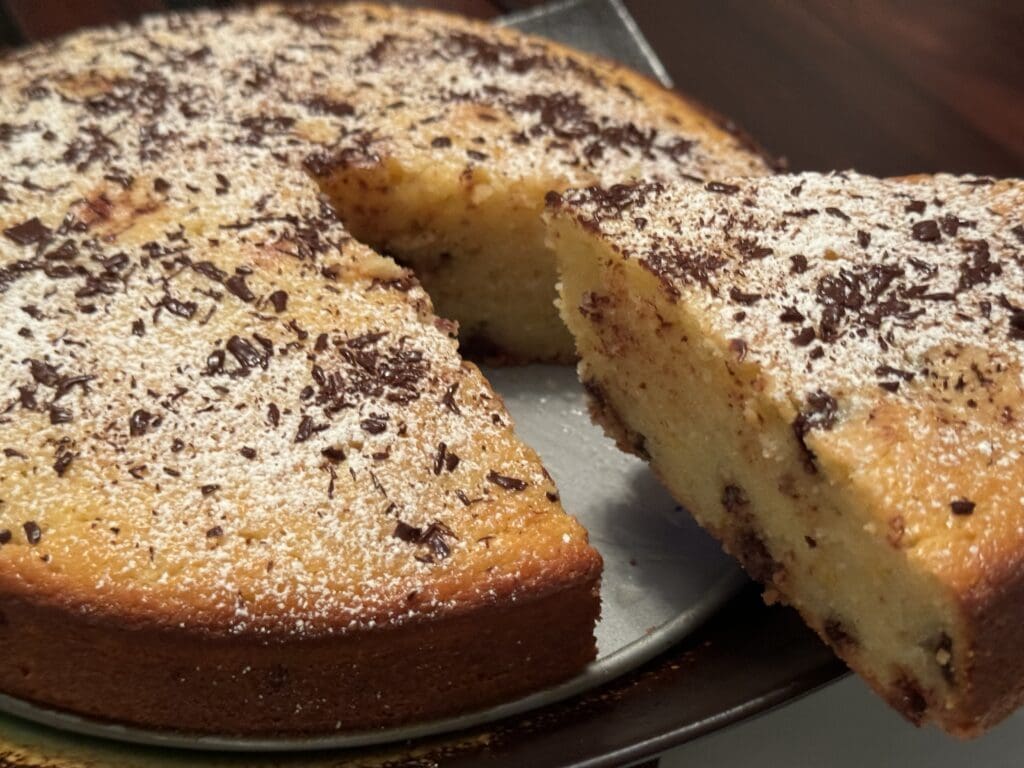
I love a good sale, and when I found a 32 oz. tub of ricotta cheese in the market for $2.99, I couldn’t just pass it by. So after making a lasagna, I still had tons of the ricotta left. So although I’m not much of a baker, I thought maybe a dessert would be…
Read MoreLAMB STEW GREEK STYLE
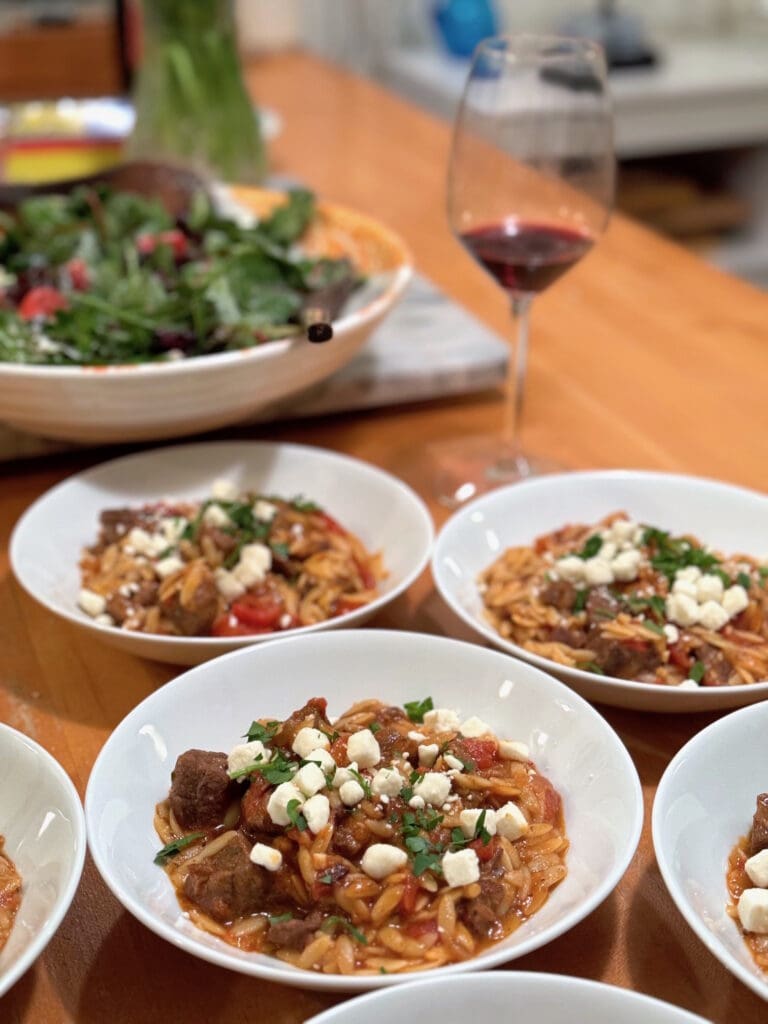
Looking for a new idea for your Easter lamb? Here’s a hearty dish that got a thumbs up from my neighbors. I often use this cut of lamb for a cassoulet, but I wanted to try a different flavor profile. By simply changing some of the spices to a more Mediterranean leaning and subbing out…
Read MoreGRILLED SALMON OVER FRIED RICE
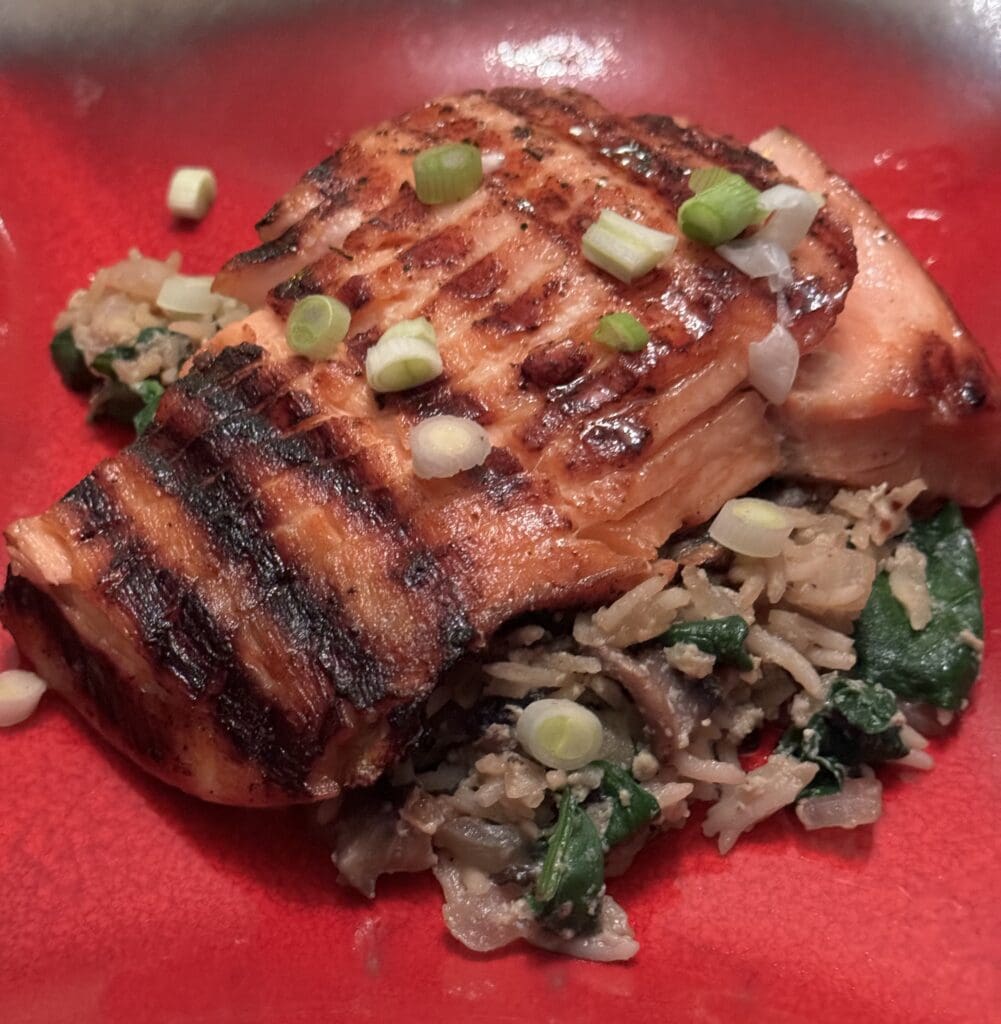
I hate wasting food, so when I found some leftover rice, a half package of spinach and some other bits and pieces in the fridge, I knew I had the makings of a quick fried rice. I topped it with some grilled salmon and I had dinner on the table in less than thirty minutes.…
Read MoreCHEESY MASHED POTATOES

This recipe had me at “cheesy.” I’ve never been a big mashed potatoes fan until I had them with cheese. Although decadent, it’s worth the splurge once in awhile. I love to serve these as a side for steak or roast dishes. It’s also great to use the leftovers—if there are any—on top of a…
Read More