Posts by The Katz Tales
MUSHROOM RISOTTO
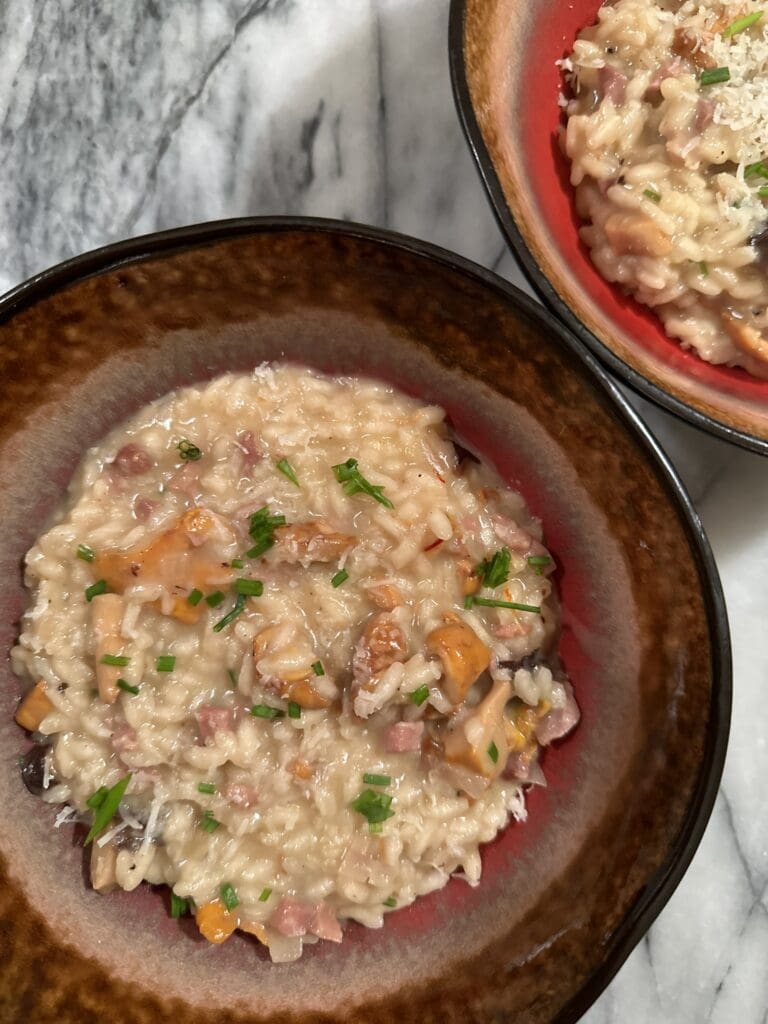
It’s a tough time of year for fresh vegetables. Other than those grown in a hothouse, we’re deep into root vegetable season. I have great respect for potatoes and parsnips, but sometimes I just want something different. Enter the mushroom. Thankfully those delightful fungi can be harvested all-year-round. One of my favorite ways to use…
Read MoreBAKED BRIE BOULE
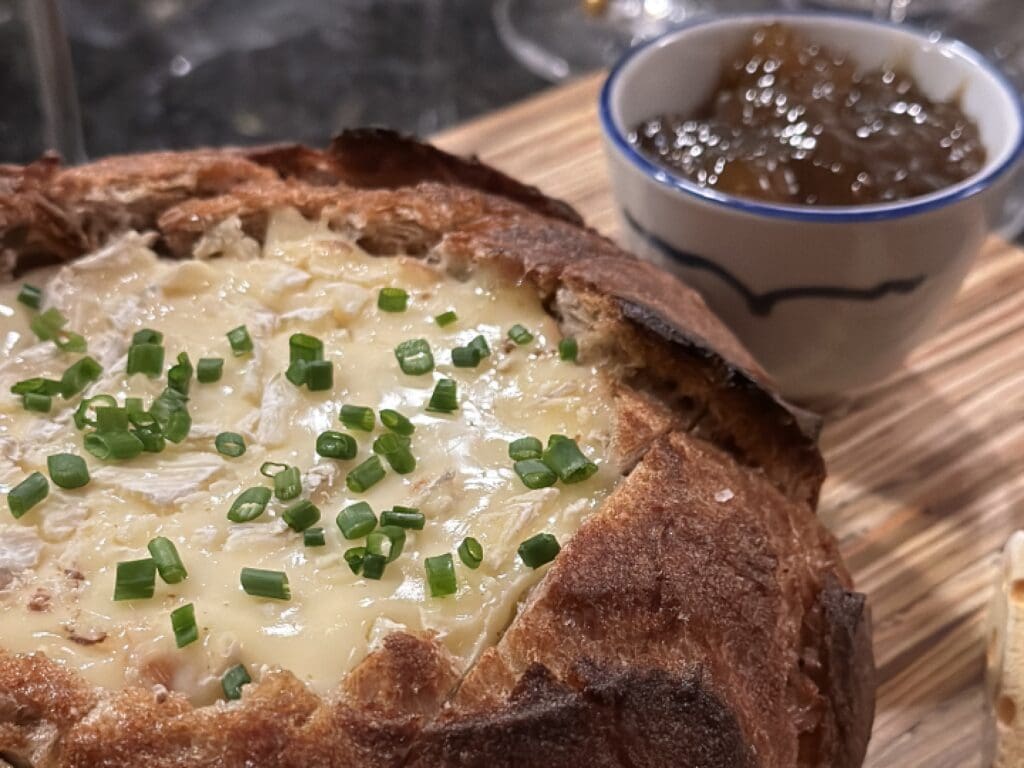
Are you looking for an easy, impressive dish for cocktail hour? Here’s a fun idea that looks great and is fun to eat. The whole idea is to pre-cut the boule so that your guests can easily tear off pieces and dip them into the luscious melted cheese. It’s hard to resist! INGREDIENTS 1 medium…
Read MoreTHE TRAUMA OF MOO GOO GAI PAN

Of all my childhood memories, the ones that really stick fascinate me. One of my most vivid recollections revolved around my family’s weekly Sunday night ritual of eating Chinese food. Most of the time we ordered takeout and I often went with my dad to pick up the food. It was a short drive down…
Read MoreKK’s PAINKILLER
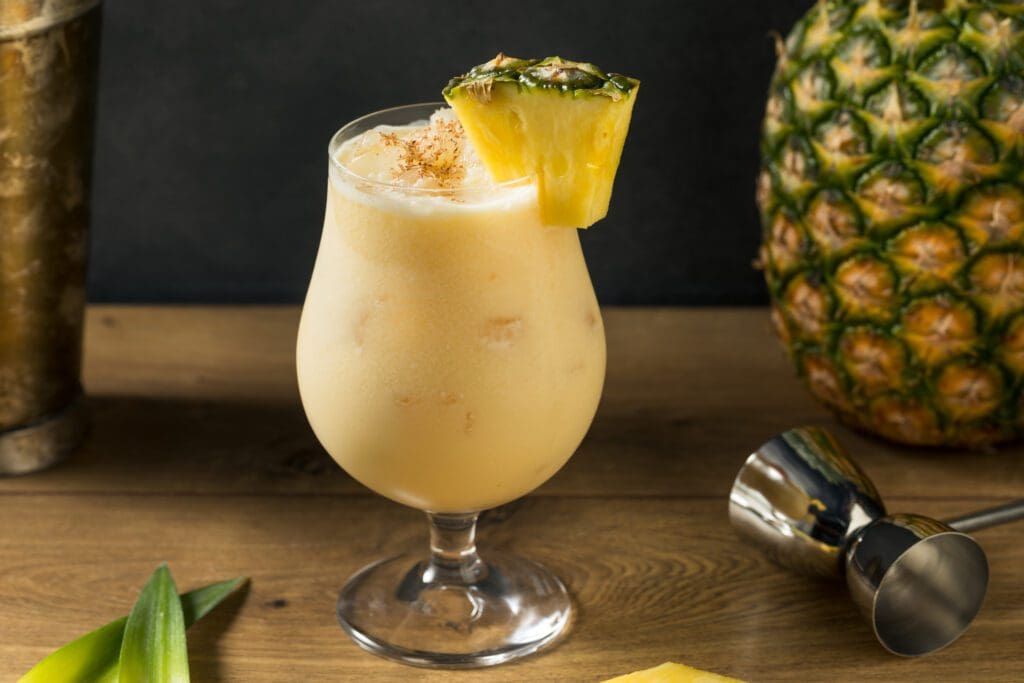
I don’t know about you, but winter is starting to get on my nerves. I think it’s time for a tropical distraction. It’s time for a Painkiller. Supposedly this drink originated in the British Virgin Islands, but thankfully it made it past US customs into the US Virgin Islands where I first tasted one. I…
Read MoreTHE HAPPY PLACE

As the temperature continues to drop and the days go from gray to ugly gray, I long for my happy place, St. John in the Virgin Islands. My husband and I have been lucky enough to return to their white sand beaches and aquamarine waters many times. I imagine we’re there as the smell of…
Read MoreEGGS FOR DINNER
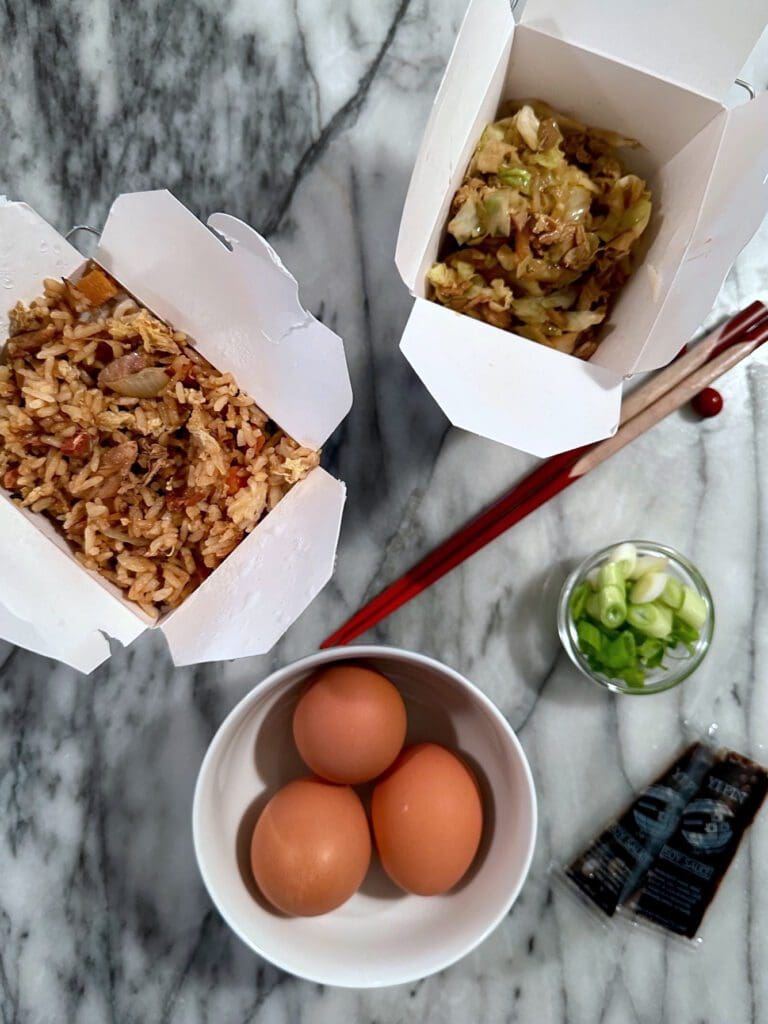
Do you want to lighten up your dinner plans a bit after your gluttonous holiday celebrations? How about eggs for dinner? To me, they are the perfect food. They have protein to keep you sated and they can go with almost anything leftover in your fridge. Rummaging through mine, I found some leftover moo shu…
Read MorePASILLA POZOLE SOUP
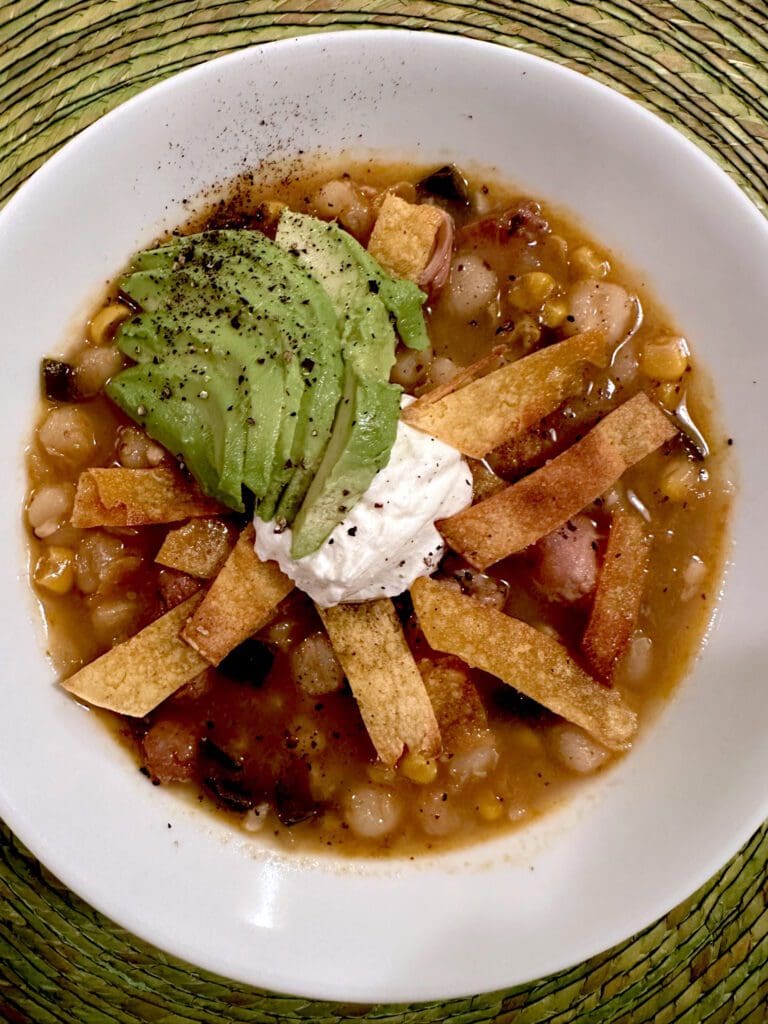
When I was in Mexico late last year, I stuffed my suitcase with all kinds of food products that I can’t find here in New York. One older woman tucked in a corner of a market in Oaxaca offered a taste of her homemade pasilla paste. It tasted smoky and earthy and had a rich…
Read MoreSOUP SOLVES EVERYTHING

Just off Serangoon Road in Singapore, on the 4th floor City Square Mall’s Food Republic is a small hawker stall that serves the best cure-all soup I’ve ever tasted. If you’re feeling blue, homesick, or just under the weather, find your way to Qiu Lian Ban Mian and order the #5 Dumpling Ban Mee Soup.…
Read MoreHAPPY HOLIDAY COCKTAIL
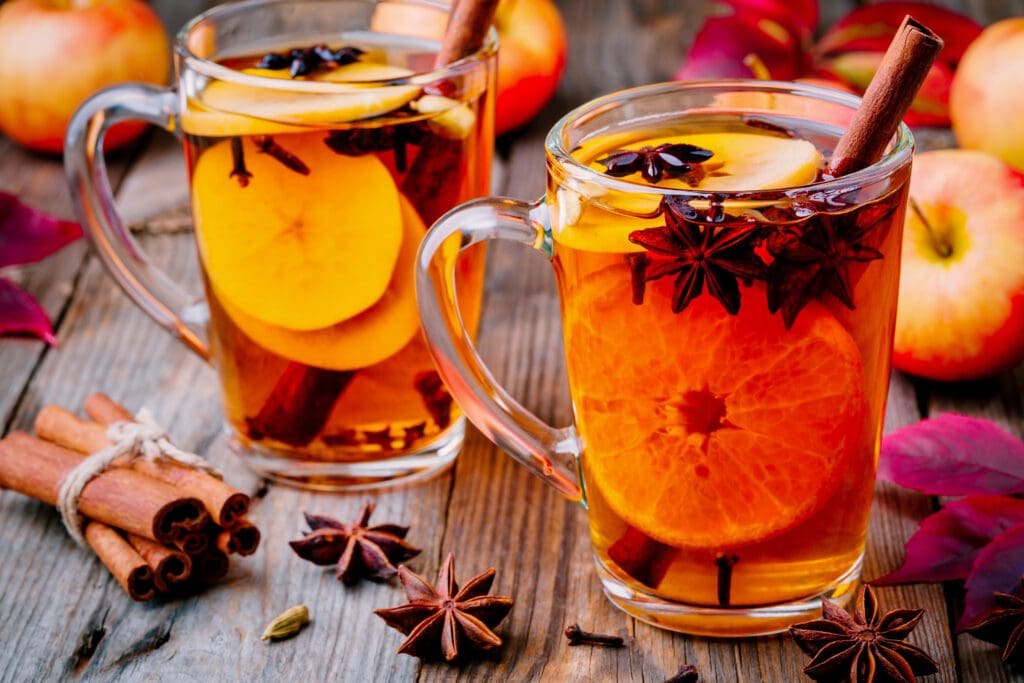
Having a few special holiday cocktails in your repertoire is always a wise move. Whether you’re planning a dinner party or just trying to take the edge off after everyone leaves, this is one of my favorite go-to winter drinks. It’s a variation on the classic Hot Toddy. After you down your second one, nothing…
Read MoreHOW TO HAVE FUN AT YOUR OWN HOLIDAY PARTY

When I was first married, I hated throwing parties. It was so much work, I never got to enjoy one minute of it. I’d spend all day on my feet frantically trying to get everything together before our guests arrived. Then I’d run around refilling drinks and washing dishes as everyone else noshed away and…
Read MoreMINI-LATKES WITH SOUR CREAM AND IKURA
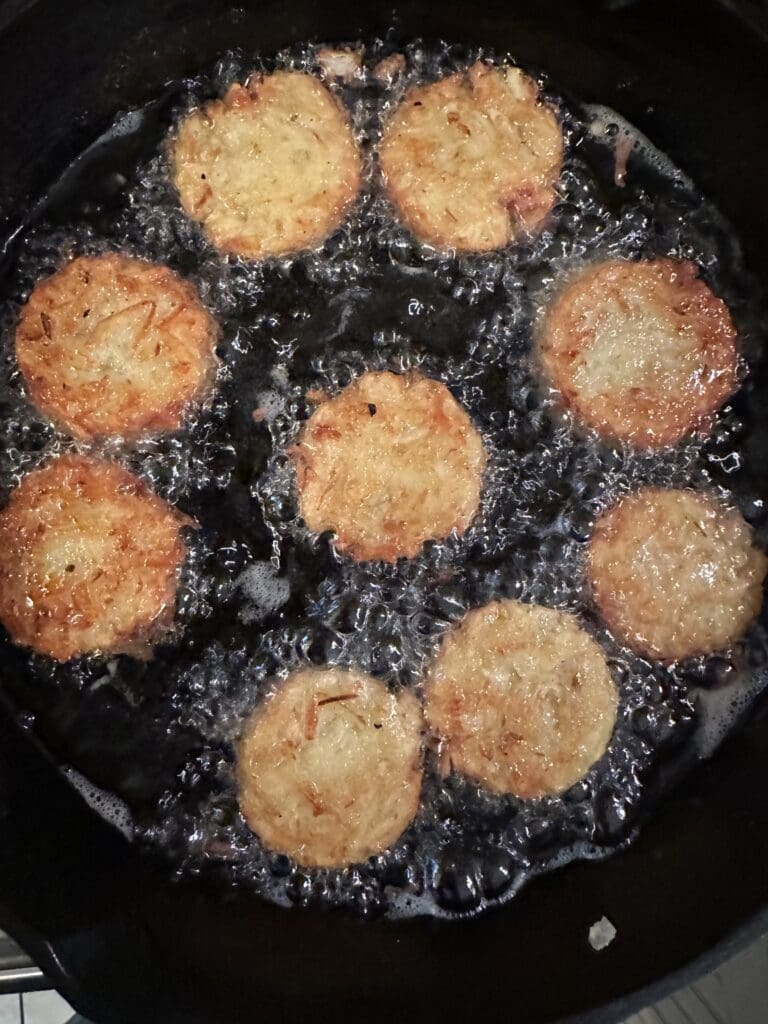
You can’t have Hanukkah without potato latkes, but you can have potato latkes all-year-round. My mini-version is great for a cocktail party, especially served alongside some champagne. If you’re feeling rich, it’s great to top them with sour cream and a few ikura pearls. Ikura pearls are those big plump delightful orbs of salmon roe…
Read MoreA NEW YORK CHRISTMAS

It’s nearly a week before Christmas, and New York is magical with holiday lights hanging over the avenues like strings of shimmering diamond necklaces. Storefront windows along Fifth Avenue are dressed with oversized ornaments and mannequins dressed as Santa’s helpers. People are loaded down with shopping bags and rushing about waiting for the dazzling light…
Read More